
10xTravel is part of an affiliate sales network and receives compensation for sending traffic to partner sites, such as CreditCards.com. This site may earn compensation when a customer clicks on a link, when an application is approved, or when an account is opened. This compensation may impact how and where links appear on this site. This site does not include all financial companies or all available financial offers. Terms apply to American Express benefits and offers. Enrollment may be required for select American Express benefits and offers. Visit americanexpress.com to learn more. All values of Membership Rewards are assigned based on the assumption, experience and opinions of the 10xTravel team and represent an estimate and not an actual value of points. Estimated value is not a fixed value and may not be the typical value enjoyed by card members.
Note: Some of the offers mentioned below may have changed or may no longer be available. The content on this page is accurate as of the posting date; however, some of our partner offers may have expired. You can view current offers here.
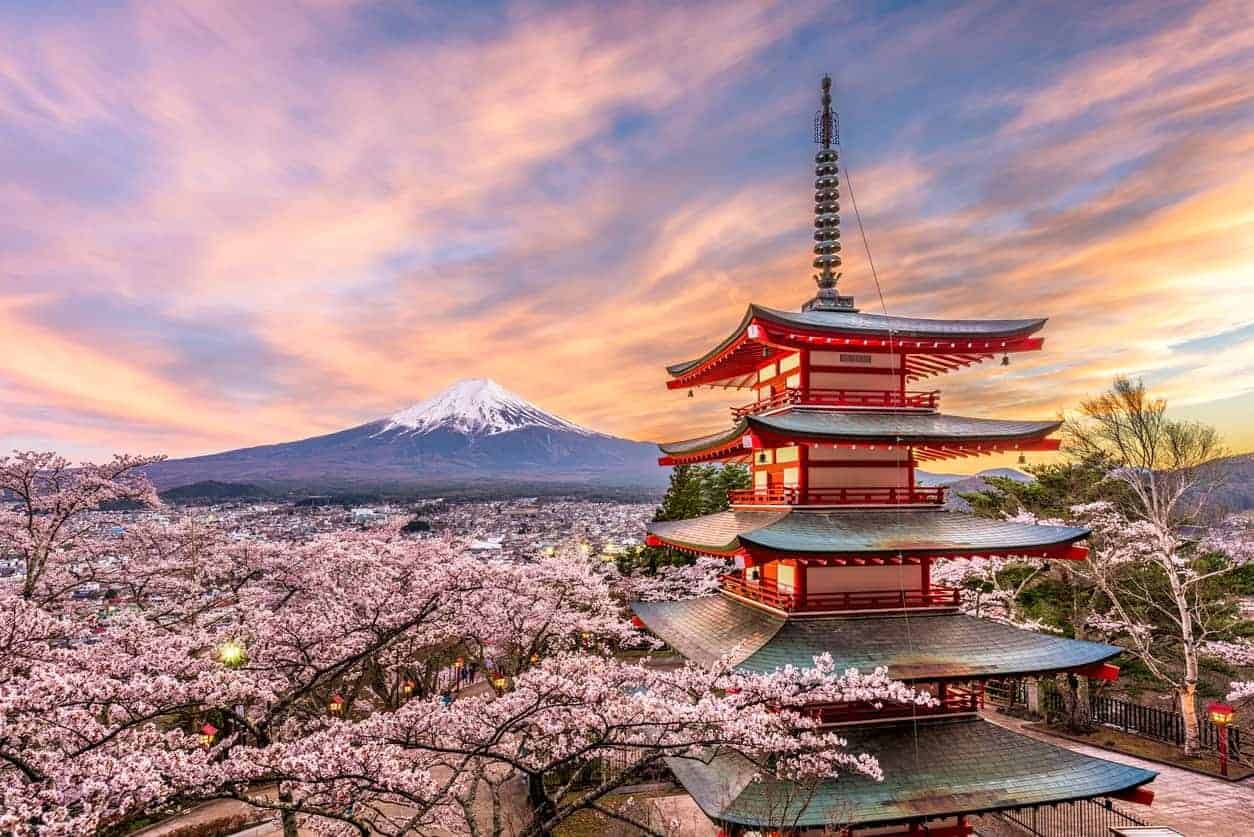
I’ve just returned from a month-long trip, two weeks of which were spent in Japan. My husband and I visited Tokyo and Kyoto and I’d like to share with you some things that I learned from my visit, and how to save money on a trip to Japan – The Land of the Rising Sun.
This is just my experience but I tried to document some things that, hopefully, will make planning your visit a little easier and help you to save money on a trip to Japan. In part one of my two-part trip report, I’ll cover how to get around Japan including public transportation, IC cards and Japanese trains.
Subway and Busses
I was a little intimidated by public transportation in Japan before my trip. I shouldn’t have been, though – subways in Tokyo and Kyoto are very easy to navigate. There are a lot of stations, so you’ll never have to walk far without finding a subway station.
In Tokyo, all the subway lines are color-coded and are marked with an English letter. Stations are all numbered and each station is announced and its name and corresponding letter/number are also shown on the electronic displays in subway cars. Here’s a screenshot of a small section of Tokyo subway.
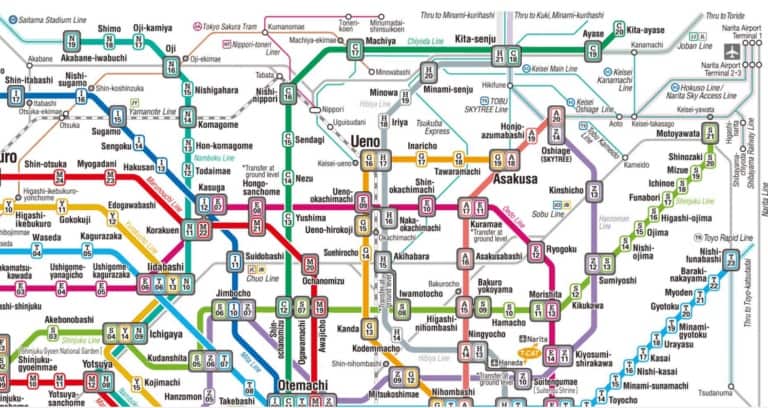
For example, you are staying at a hotel near the station Z10 and you want to go to Ueno Park (which is especially beautiful during the cherry blossom season). To get there, you need to take the purple line to Z9, change to the yellow line (station G12) and take it to station G16. There’s no need to remember station names, the direction in which the train is going etc. Such an ingenious system! I wish more cities moved toward that.
All the subway exits are numbered and clearly marked, and there’s always a list of major landmarks by each exit. So before getting off the subway platform, you can check if you need to go left or right and make sure you are heading toward the right exit.
Kyoto is a much smaller city and there are only two subway lines; one goes north to south, and the other runs east to west. All stations are also numbered, just like in Tokyo, making navigation very easy.
Busses are plentiful in Kyoto, there are so many lines and they go everywhere. Using a bus is just as easy as using the subway. The bus lines are color-coded, and the station names are announced in English and Japanese. There’s even a big electronic display at the front of the bus showing several upcoming stops. It really is that easy!
Bus number 100 goes to all the major temples, and it runs in a loop so it’s easy to hop on and hop off wherever you need. A day bus pass is the easiest way to sightsee in Kyoto. One of the major temples, Kinkaku-ji Temple, also known as the Golden Pavilion, is a bit out of the way and I almost skipped it. However, visiting this temple was one of my favorite things in Kyoto. It’s magnificent, so make sure to make some time for it. It’s very easy to get there by public transport.
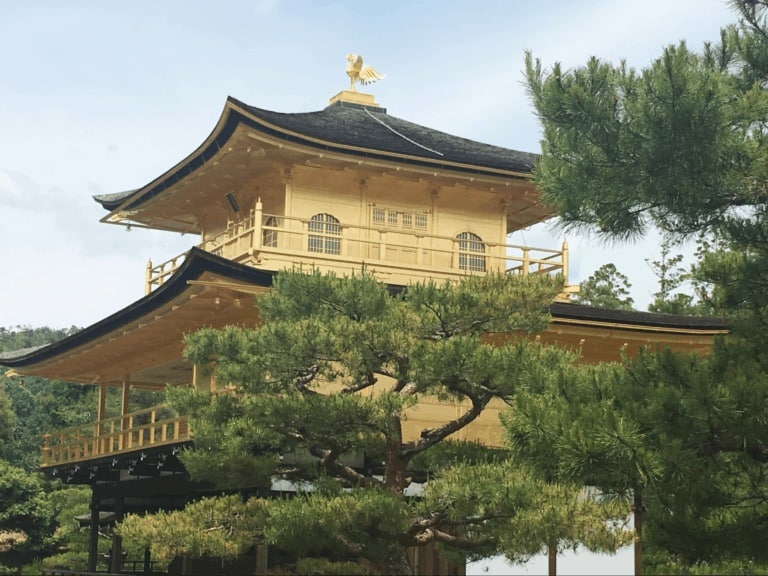
Kinkaku-ji Temple, Kyoto
IC Cards
IC cards (IC stands for integrated circuit) are RFID enabled credit-sized rechargeable smart cards that can be used to pay for rides on public transportation, items at convenience stores, meals at some restaurants and snacks at vending machines all around Japan. They are very easy to use, because you don’t even have to take them out of your valet. You just wave it close to the IC card reader. They are also very easy to purchase and recharge at the automated ticket machines.
We used Pasmo card in Tokyo because this is the card the subway station closest to our hotel was selling. Another popular card is Suica, which is usually sold at train stations. We might have saved a little bit of money if we used subway day passes but you just can’t beat the convenience of these IC cards.
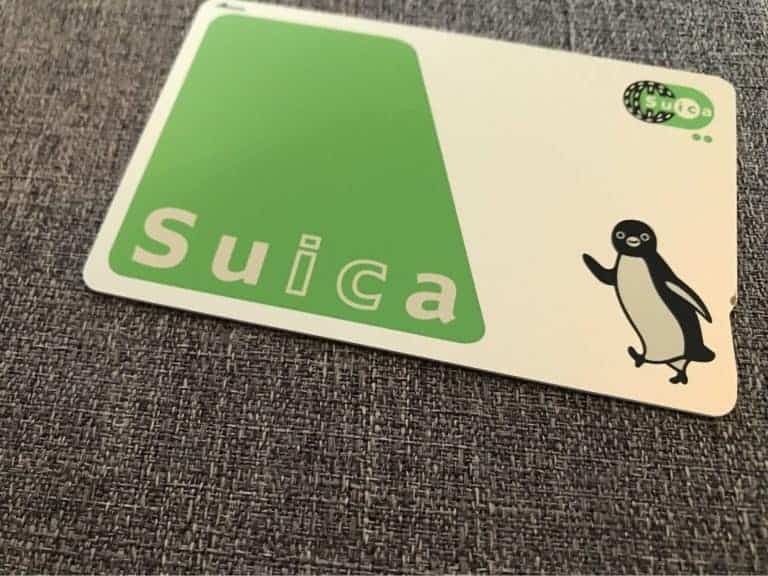
Photo courtesy of masa osada via Flickr
IC cards require a deposit of about $5 when they are first purchased and the deposit, minus a small fee, will be refunded when you turn it in. I turned in my Pasmo card in Tokyo to the subway station worker in a window near the turnstile and he quickly refunded me the money. The cards could be used in Kyoto, but we couldn’t get the deposit back there, so it made sense to turn it in Tokyo.
ICOCA is the IC card that’s mostly used in the Kyoto region. It also requires a deposit, so don’t forget to get your refund when you leave. As I mentioned, Kyoto has a great bus service and you’ll probably be using busses more than a subway. It makes sense to get a day bus pass for 600 yen if you plan on riding the bus more than three times a day. Most Kyoto temples could be visited by bus, so for me, a day pass was the clear winner.
There’s also a separate subway day pass you can buy in Kyoto, as well as a combined subway/bus pass. I didn’t buy the ICOCA card since I just used bus day passes. Most hotels sell them, as well as subway passes, and they’ll help you figure out the cheapest way to get around town.
My Experience Taking Trains in Japan
To get to our hotel from Haneda airport, we took an airport bus because we stayed near the airport bus terminal. The ride was inexpensive at about $13 and the bus company staff loads and unloads the bags. I find it a lot more convenient than taking trains/subways where I have to schlep my own bags. There are a few companies that provide this service, so inquire at your hotel which bus is the best option.
My first time taking a train in Japan was when we moved from Tokyo to Kyoto. We didn’t buy the JR pass because this was our only long (and expensive) train ride. However, if you are going to another city and then coming back to Tokyo, the JR rail pass might make sense.
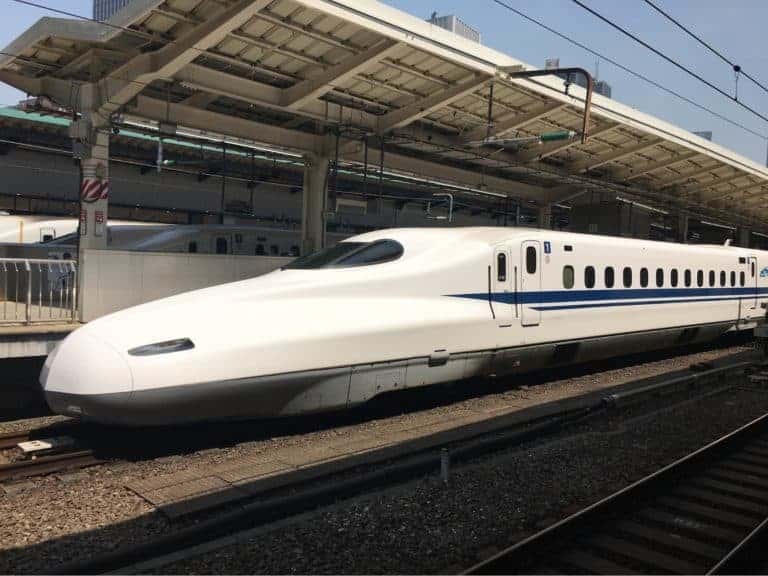
Japanese trains aren’t cheap, a one-way ticket from Tokyo to Kyoto cost about $130. To save money on trip to Japan, we bought tickets for unreserved seats. I asked the hotel concierge and my Japanese tour guide about paying extra for a guaranteed seat, but both said it’s not necessary if we aren’t traveling during rush hour.
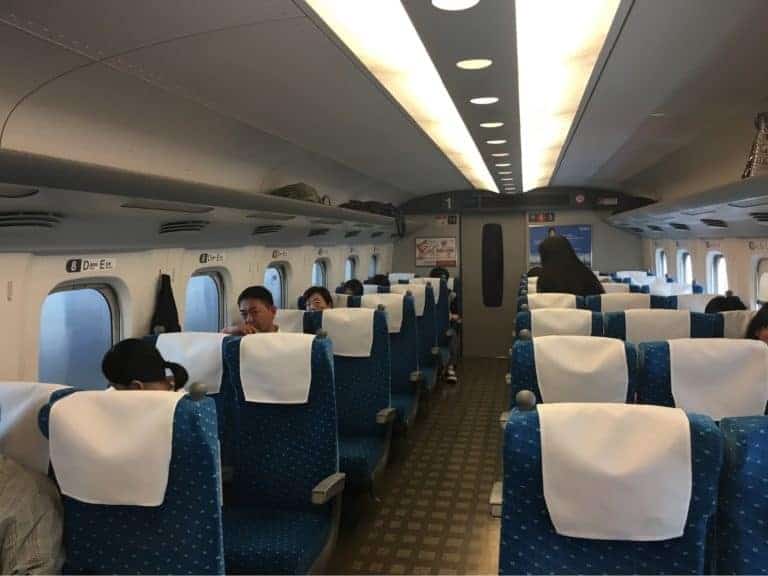
They were right, we had no issues finding good seats. There were plenty of seats in the unreserved cars. We were in Shinkansen’s equivalent of second class, but the seats are wide, with lots of legroom. I am all for splurging a little for a more comfortable train ride in Europe, but it really wasn’t necessary because there were plenty of available seats.
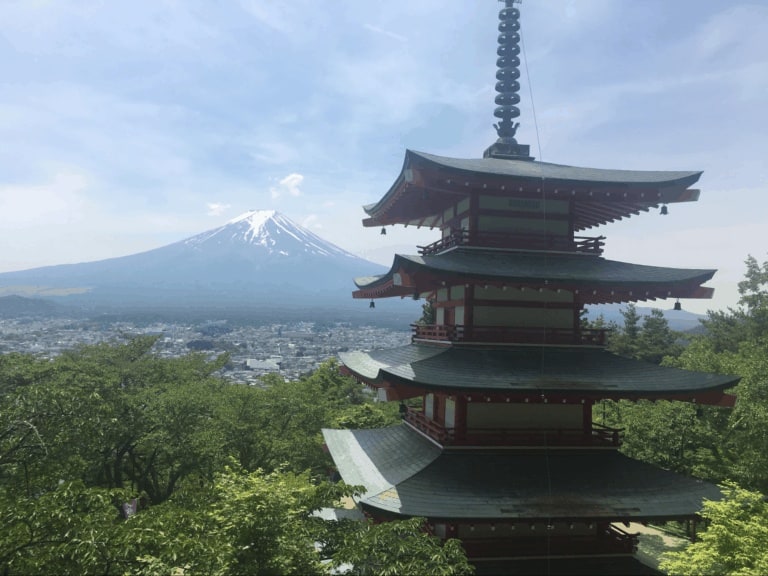
On the train from Tokyo to Kyoto, try to grab a seat on the right-hand side. About 40 minutes into the ride, you can see the majestic Mount Fuji.
If you are visiting Kyoto, it’s easy to cover Fushimi Inari Shrine to see the famous orange torii gates and Nara on the same day. Both are reachable by inexpensive suburban trains from Kyoto. Fushimi Inari Shrine and the famous road of hundreds of torii gates could get very crowded, but don’t be discouraged, just keep walking. At some point, as if my magic, the crowds disappear and you snap a few amazing photos.
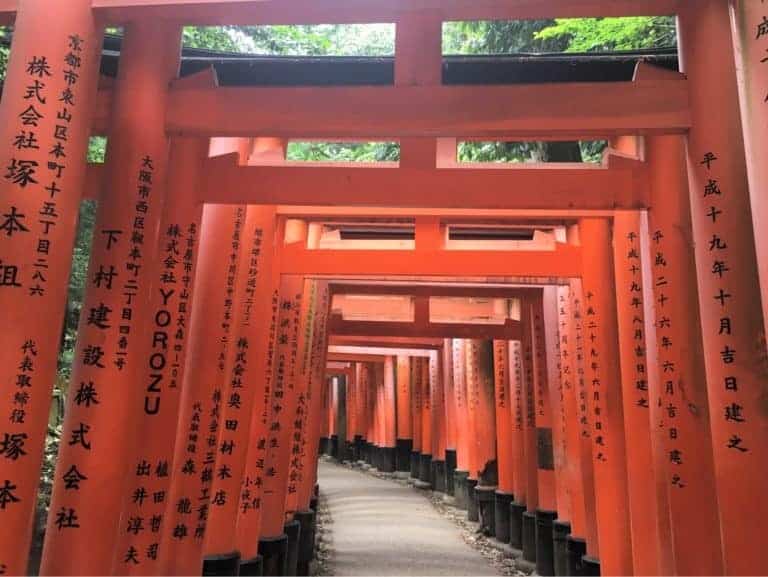
Torii Gates, Fushimi Inari Shrine
Public Restrooms
There are plenty of clean public restrooms in Japan. In fact, every subway station will have one. Soap, however, is not always available. So, maybe bring a hand sanitizer or sanitizing wipes with you. There are often no paper towels or hand dryers which is not a big deal in the summer, but when it’s cold out this could be unpleasant.
I’ve seen a lot of Japanese women carry small towels (the size of a washcloth) in their purses and I’ve seen them sold everywhere as well. At first, I wasn’t sure why there are small towels on sale everywhere, but it makes sense now.
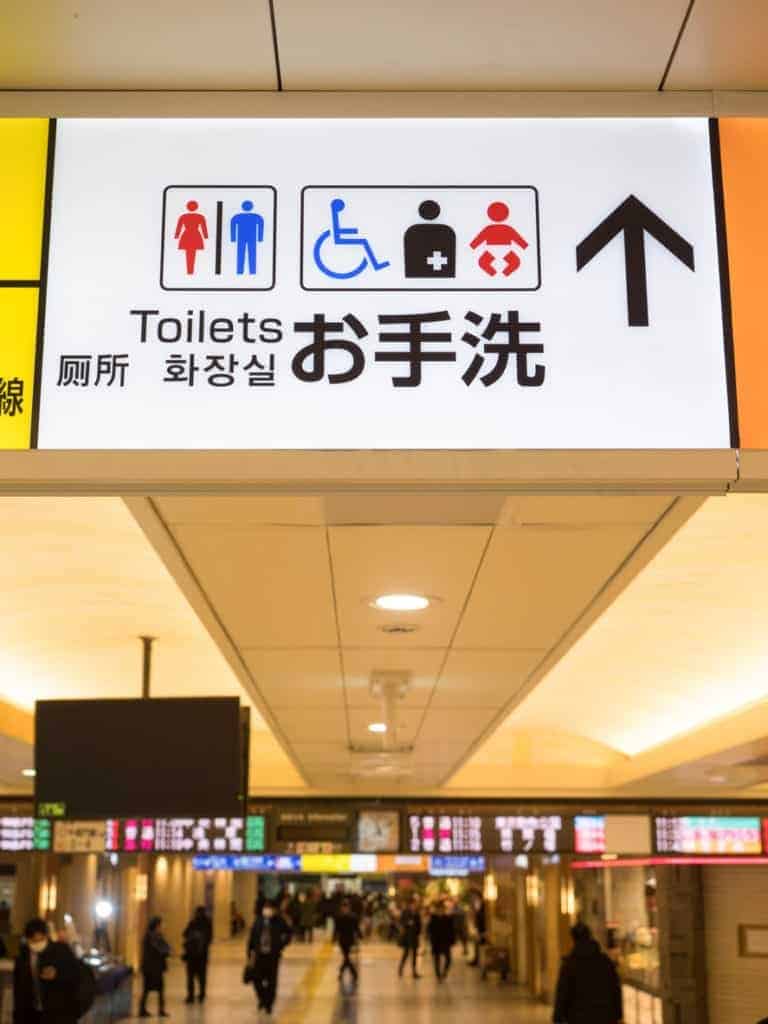
Station toilet guide board
Final Thoughts
I found everyone to be extremely kind and helpful. It doesn’t matter that you don’t speak the language, they will still treat you with kindness and respect and will try to help any way they can. On a train to Kyoto, we weren’t able to get a seat on the right side of the train, but when we were passing it, another passenger got up from his seat and invited us to look at it Mount Fuji out of his window.
I hope you find these tips helpful to save money on a trip to Japan, in your travel planning and get to experience the best Japan has to offer.
Here is the next part of this article – How to Save Money on a Trip to Japan – Part Two
Travel well,
Anna

New to the world of points and miles? The Chase Sapphire Preferred® Card is the best card to start with.
With a bonus of 75,000 bonus points after you spend $5,000 on purchases in the first 3 months from account opening. , 5x points on travel booked through the Chase TravelSM Portal and 3x points on restaurants, streaming services, and online groceries (excluding Target, Walmart, and wholesale clubs), this card truly cannot be beat for getting started!
Editors Note: Opinions expressed here are author’s alone, not those of any bank, credit card issuer, hotel, airline, or other entity. This content has not been reviewed, approved or otherwise endorsed by any of the entities included within the post.
10xTravel is part of an affiliate sales network and receives compensation for sending traffic to partner sites, such as CreditCards.com. This site may earn compensation when a customer clicks on a link, when an application is approved, or when an account is opened. This compensation may impact how and where links appear on this site. This site does not include all financial companies or all available financial offers. Terms apply to American Express benefits and offers. Enrollment may be required for select American Express benefits and offers. Visit americanexpress.com to learn more. All values of Membership Rewards are assigned based on the assumption, experience and opinions of the 10xTravel team and represent an estimate and not an actual value of points. Estimated value is not a fixed value and may not be the typical value enjoyed by card members.
Editors Note: Opinions expressed here are author’s alone, not those of any bank, credit card issuer, hotel, airline, or other entity. This content has not been reviewed, approved or otherwise endorsed by any of the entities included within the post.
bonus cash back
after you spend $6,000 on purchases in the first 3 months from account opening
to use on Capital One Travel
in your first cardholder year, plus earn 75,000 bonus miles once you spend $4,000 on purchases within the first 3 months from account opening - that’s equal to $1,000 in travel
bonus points
after you spend $5,000 on purchases in the first 3 months from account opening.

Membership Rewards® Points
after you spend $6,000 in eligible purchases on your new Card in your first 6 months of Card Membership. Welcome offers vary and you may not be eligible for an offer. Apply to know if you’re approved and find out your exact welcome offer amount – all with no credit score impact. If you’re approved and choose to accept the Card, your score may be impacted.


